English
English
Appearance
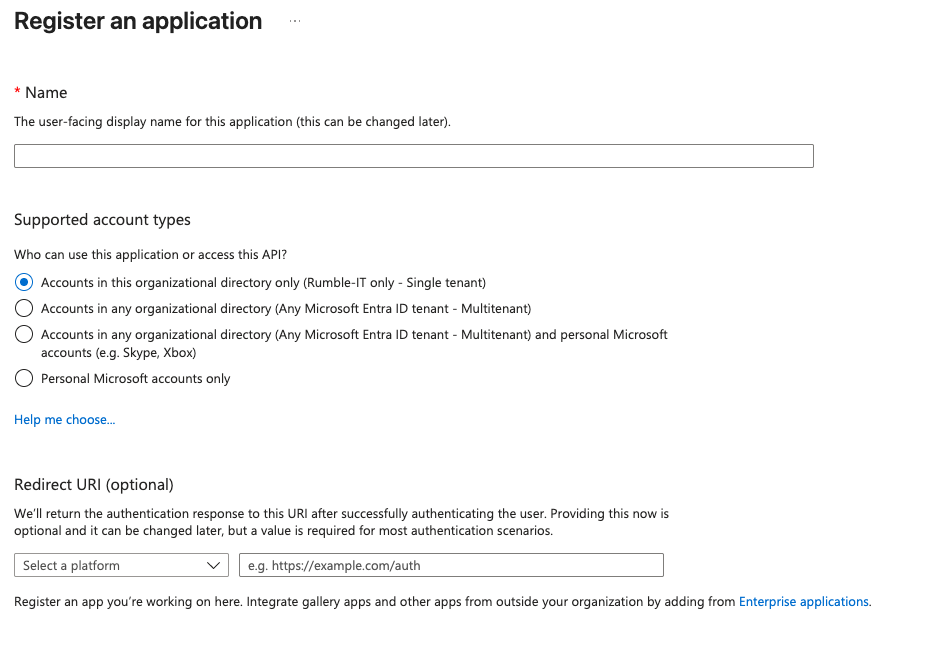
Fill out the necessary details as below and click on "Register".
We support two environments:
Acceptance environment:
For testing and development.
Admin URL: https://admin.acceptance.rumbledirect.com
Production environment:
For live use in your public environment.
Admin URL: https://admin.rumbledirect.com
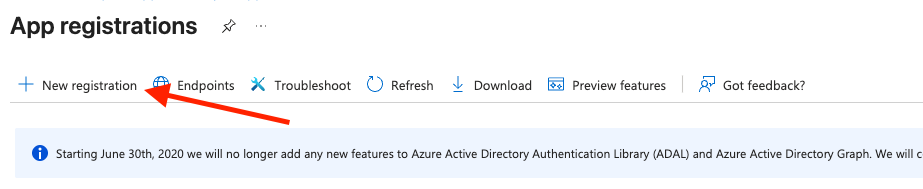
Login to Azure portal and search for “App registrations” Here we need to create a new app registration by clicking on “New registration”
Fill out the necessary details as below and click on “Register”.
After registration, on the app registration details page, note the of the Application (client) ID as this will be required by RumbleDirect.

Next, we need to create a client secret to use this client. For that, click on “Certificates and secrets”. 
Click on New Client Secret 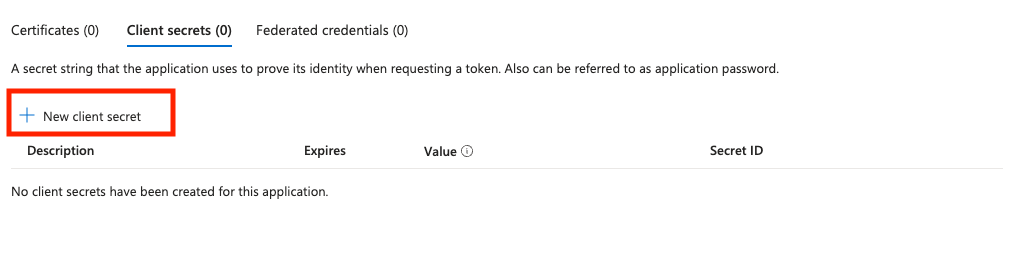
Give your secret a description and select the expires, recommended 6 months 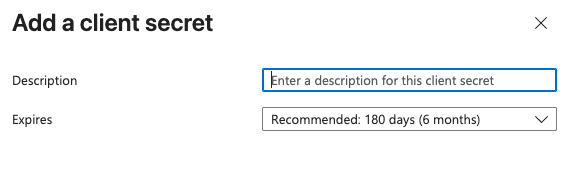
Copy the value, this will be your Client Secret 
Now copy the endpoint details by clicking in the Application details page on "Endpoints" 
Locate and copy the value from OpenID Connect metadata document 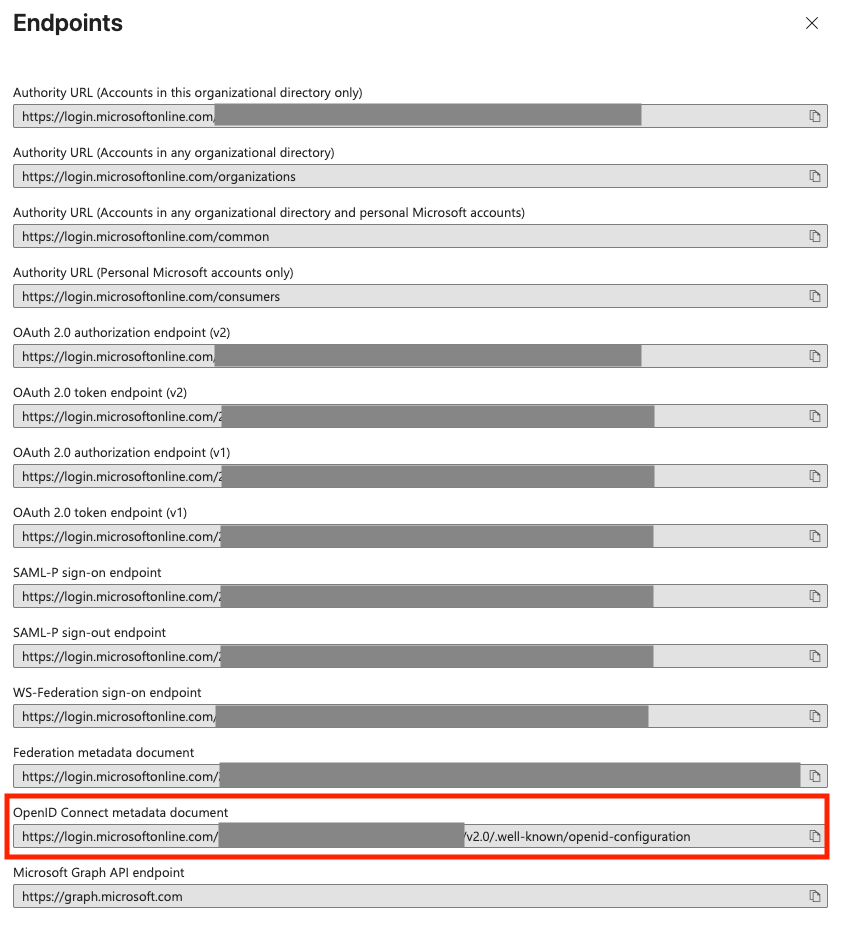
The next step is to send the required data to Rumble. The following data will be required:
After sending, Rumble will contact in order to verify and supply some latest details for you to finish the basic setup of your SSO application.
Rumble will supply you with a Redirect uri, this uri will be used by Azure to verify the connection and let the user redirect to the application. The Redirect uri can be added in the Application Details page.

Click on Add Redirect Uri 
Click on Web 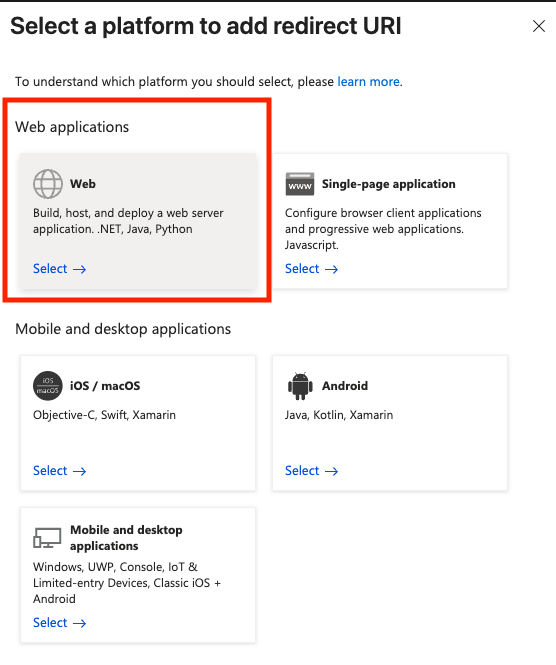
Enter the provided Redirect Uri and save 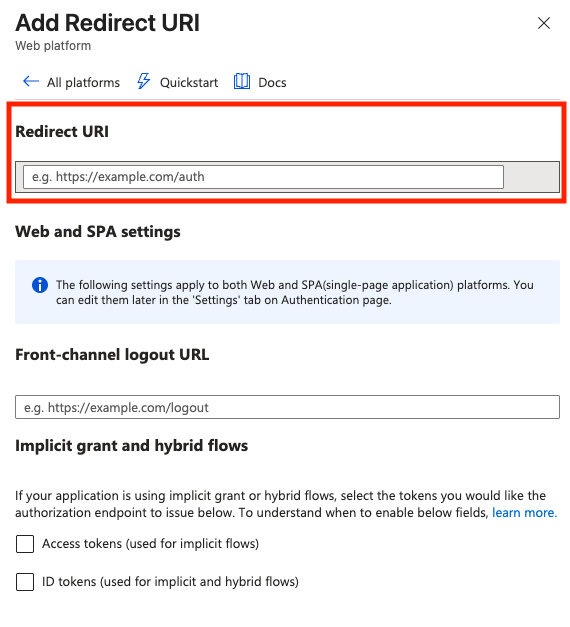
If required, it is possible to automaticly login into the RumbleDirect application by clicking the Application tile on the web page [https://myapplications.microsoft.com]. To accomplish this, add a homepage url to the application properties. This url can be requested by sending an email to [email protected].
Once the SSO is connection, you can immediatly test the login process with your just created application. Go to (depending on the environment) [https://admin.rumbledirect.com] or [https://admin.acceptance.rumbledirect.com] en fill in your email address. You will be automaticly redirected to your azure SSO provider.
Got questions or ran into issues? Email us at [email protected] — we’re here to help.
Good luck with the integration! 🚀